Practice makes perfect: the Baby-10 front panel
Creating a front panel for the Baby-10. Trial, error, re-trial, and success.


As I mentioned in my previous post, I decided to make a new front panel for my Baby-10 sequencer out of wood so it will match the bamboo aesthetic I currently have going for my synth stands. When I make things out of wood, they tend to be functional and sturdy but lacking a certain, shall we say, refinement? Finish? I tend to rush through the stage of a woodworking project where I should be patiently sanding and priming and staining because I really want to put the thing I'm building into use. My music workstation doubles as a work desk, so I'll be looking at this sequencer every day. Seeing crunchy edges and uneven staining would make me sad. And misaligned controls? No way.
For the front panel build, I started with a sheet of wood veneer left over from a previous project. I used the aluminum top panel from the project case as a template to cut the veneer to the same size, then sanded the edges smooth. After that, I applied three layers of Varathane. I created a new layer in my layout template drawing that contained only registration marks for the component holes and labels for the CV plugs and clock switch. I printed this onto water slide decal paper and applied it to the panel.
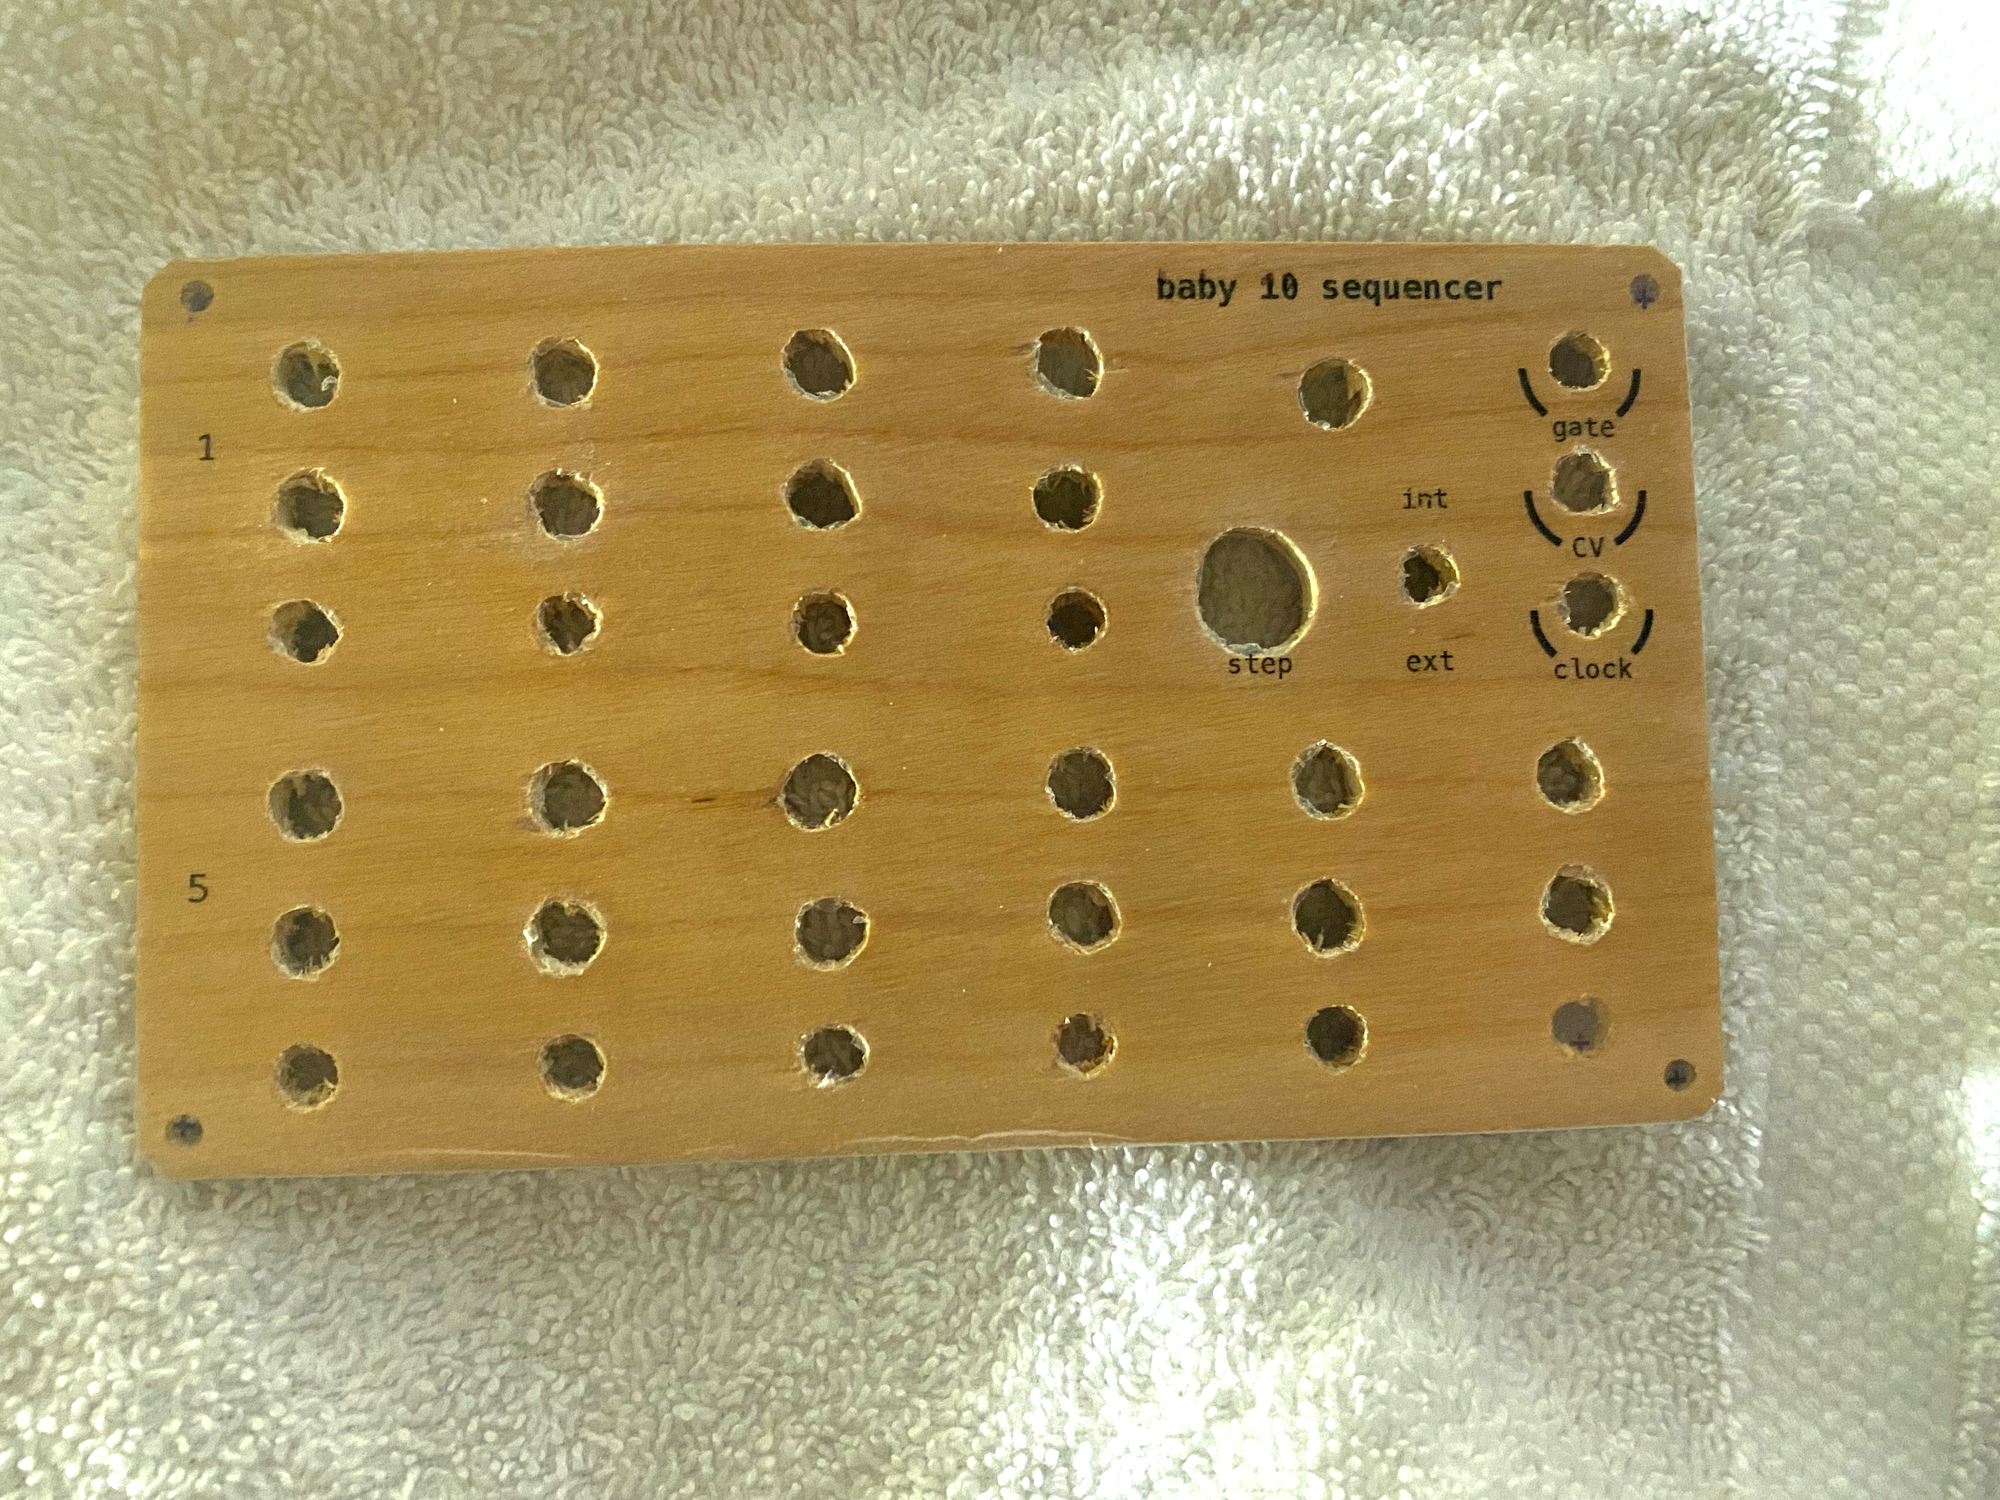
Looking good so far! I recently picked up a mini drill press workstation for my Dremel tool and used that to drill 1/8" pilot holes at every + mark. I then used a 1/4" bit to drill out the holes, then a 5/16" bit to enlarge the holes for the pots and LEDs so the components fit. The results were...not spectacular.
The 1/4" bit made fairly clean holes and you can see that I got better at drilling as I moved from top-left to bottom-right. When I started expanding the holes with the 5/16" bit, the top veneer layer began to split and peel back the decal. Most of the tearing and splitting would have been covered by the top nuts of the pots and switches, but really, why try to salvage something when I had more veneer material? The second time around, I cut and sanded the panel but did not apply Varathane or the decal. Instead, I printed out the layout template on paper and used a center punch marker to transfer the + locations to the wood. I drilled pilot holes with the Dremel drill press then expanded them with a 1/4" bit.
I used the cutting bit on my Dremel to expand the pot and LED holes to approximately 5/16". This resulted in almost no splitting of the top layer. I then used a straight router bit to rout out parts of the back of the panel so the pots and 1/8" plugs extend far enough past the front for the nuts to go on. Once all the cutting was done, I sanded the panel, applied Tung oil, and added three coats of Varathane. Next, I put the decal on and used a hobby knife to cut the decal material out of the component holes.
I've spent more time of this tiny slice of wood than on the internal design, so it's time to call it "done" and move on to the circuitry. I have some interesting ideas for connecting the front panel to the board...