MiniDexed Smoke Test

I've had my eye on the MiniDexed open source project for a while, ever since I saw a video about the project by Floyd Steinberg. Eight DX7s on a Raspberry Pi? Heck yeah! This week, I finally ordered hardware:
- Raspberry Pi 4 Model B 2019 Quad Core 64 Bit WiFi Bluetooth (4GB) ($163.49 at Amazon)
- Hikig 5Pcs KY-040 Rotary Encoder Module ($9.88 for five at Amazon)
- Teyleten Robot 0.91 inch OLED LCD Display Module SSD1306 IIC 128x32 LCD OLED Screen ($11.88 for five at Amazon) - I2C address is 0x3c
- HiLetgo PCM5102 I2S IIS High Quality Lossless Digital Audio DAC Decoder Module Stereo DAC Digital-to-Analog Converter Voice Module ($11.99 at Amazon)
- Flirc Raspberry Pi 4 Case ($15.95 at Amazon)
I also got a USB keyboard and a micro HDMI to HDMI adapter so I could plug the Pi into a monitor for debugging.
I don't have much experience with Raspberry Pi devices, but didn't have any trouble following the installation instructions on the project site. You start by updating the bootloader on the Pi. I followed these instructions from PiMyLifeUp. In brief, download the Raspberry Pi Imager application from raspberrypi.com and use it to put a bootloader image on a microSD card, insert the card into the Pi, and turn it on. A green screen means you're done. Turn off the Pi, pull the SD card, and erase it. Download and unzip the MiniDexed build, copy the files to the SD card, insert it in the Pi, and turn it on. I plugged in an Akai Professional LPK25 mini MIDI controller into a USB port and a pair of headphones into the Pi's audio output, hit some keys, and was rewarded with "Brass 1". Wow!
Ok, but what about all the other hardware? I started by connecting up the OLED display to the Pi's I2C pins and power per the wiring diagram in the project docs. Nothing. I re-read the instructions and saw that I needed to set the I2C address of the display in the config file. A quick search gave me the default address of 0x3c, so I decided to try that. I popped out the micro SD card and edited minidexed.ini, changing the following settings:
SSD1306LCDI2CAddress=0x3c
LCDColumns=20
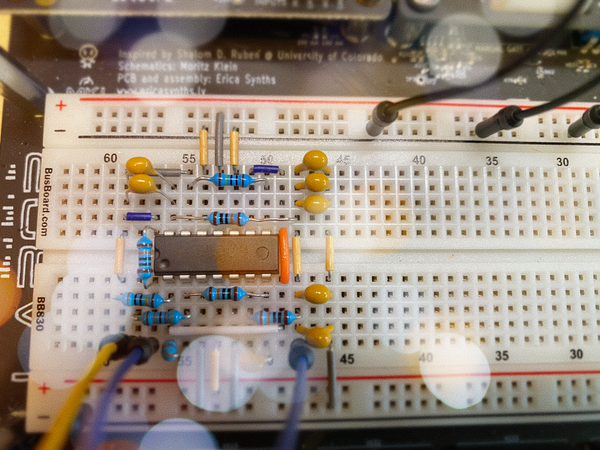
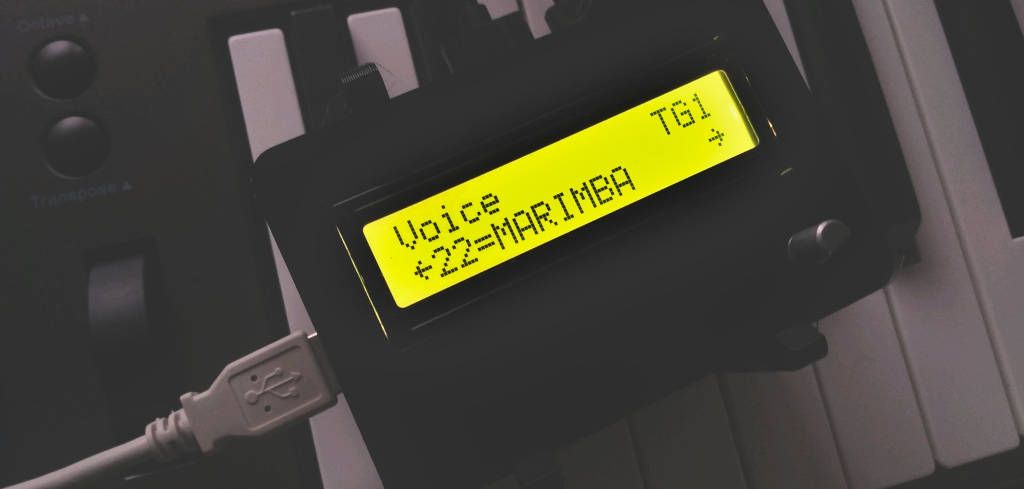
Card went back in, booted up, and the screen came to life. I made a cable to connect the screen to the main board, then moved on to the rotary encoder. To try it out, I connected up the five pins on the encoder to the Pi using test jumpers. It's ugly, as you can see below, but it worked! I was able to change the voices for each of the eight tone generators.

Now that I know the essential hardware is working, I'm going to design a daughter board for the display, encoder, and DAC board and see if I can get it to all fit inside the case. The onboard audio output on the Pi isn't very good – there's kind of an echo of white noise after each note finishes playing. Adding the DAC board should make this an actual, playable instrument.
If you have hardware laying around that you want to turn into a classic 80s synth, give this project a try. Kudos to probono, the owner and leader of MiniDexed, for putting together a easy, powerful synth engine that works more or less right out of the box!
- I added my hardware setup to the "List your hardware here" thread on the project discussion board.