Baby-10 In Action
I've got enough wires soldered up to light some LEDs in sequence!

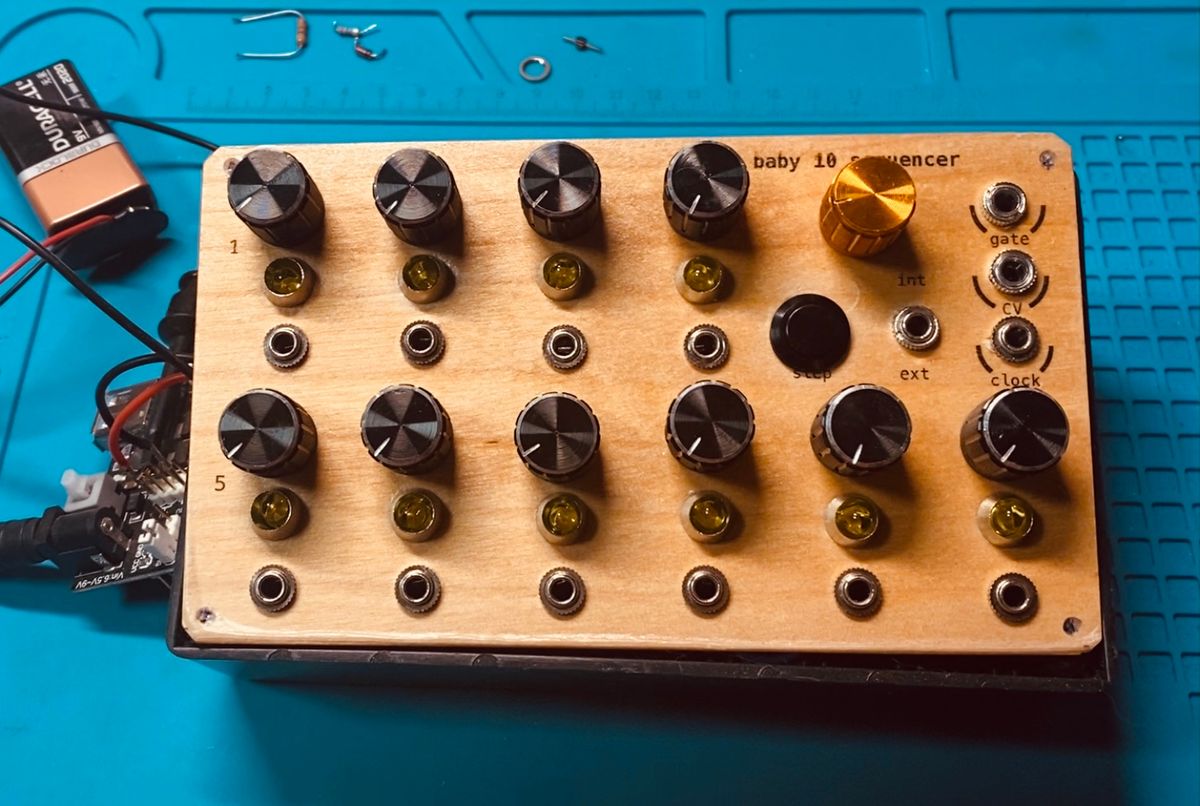
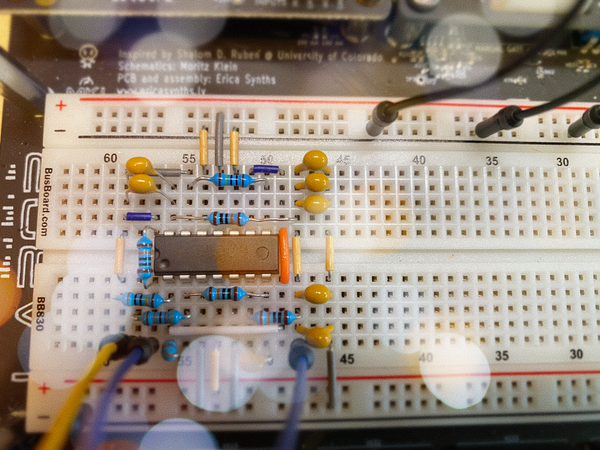
Here's the current state of the Baby-10 front panel now that all of the steps are wired up. Take a look at this point-to-point mess! :)
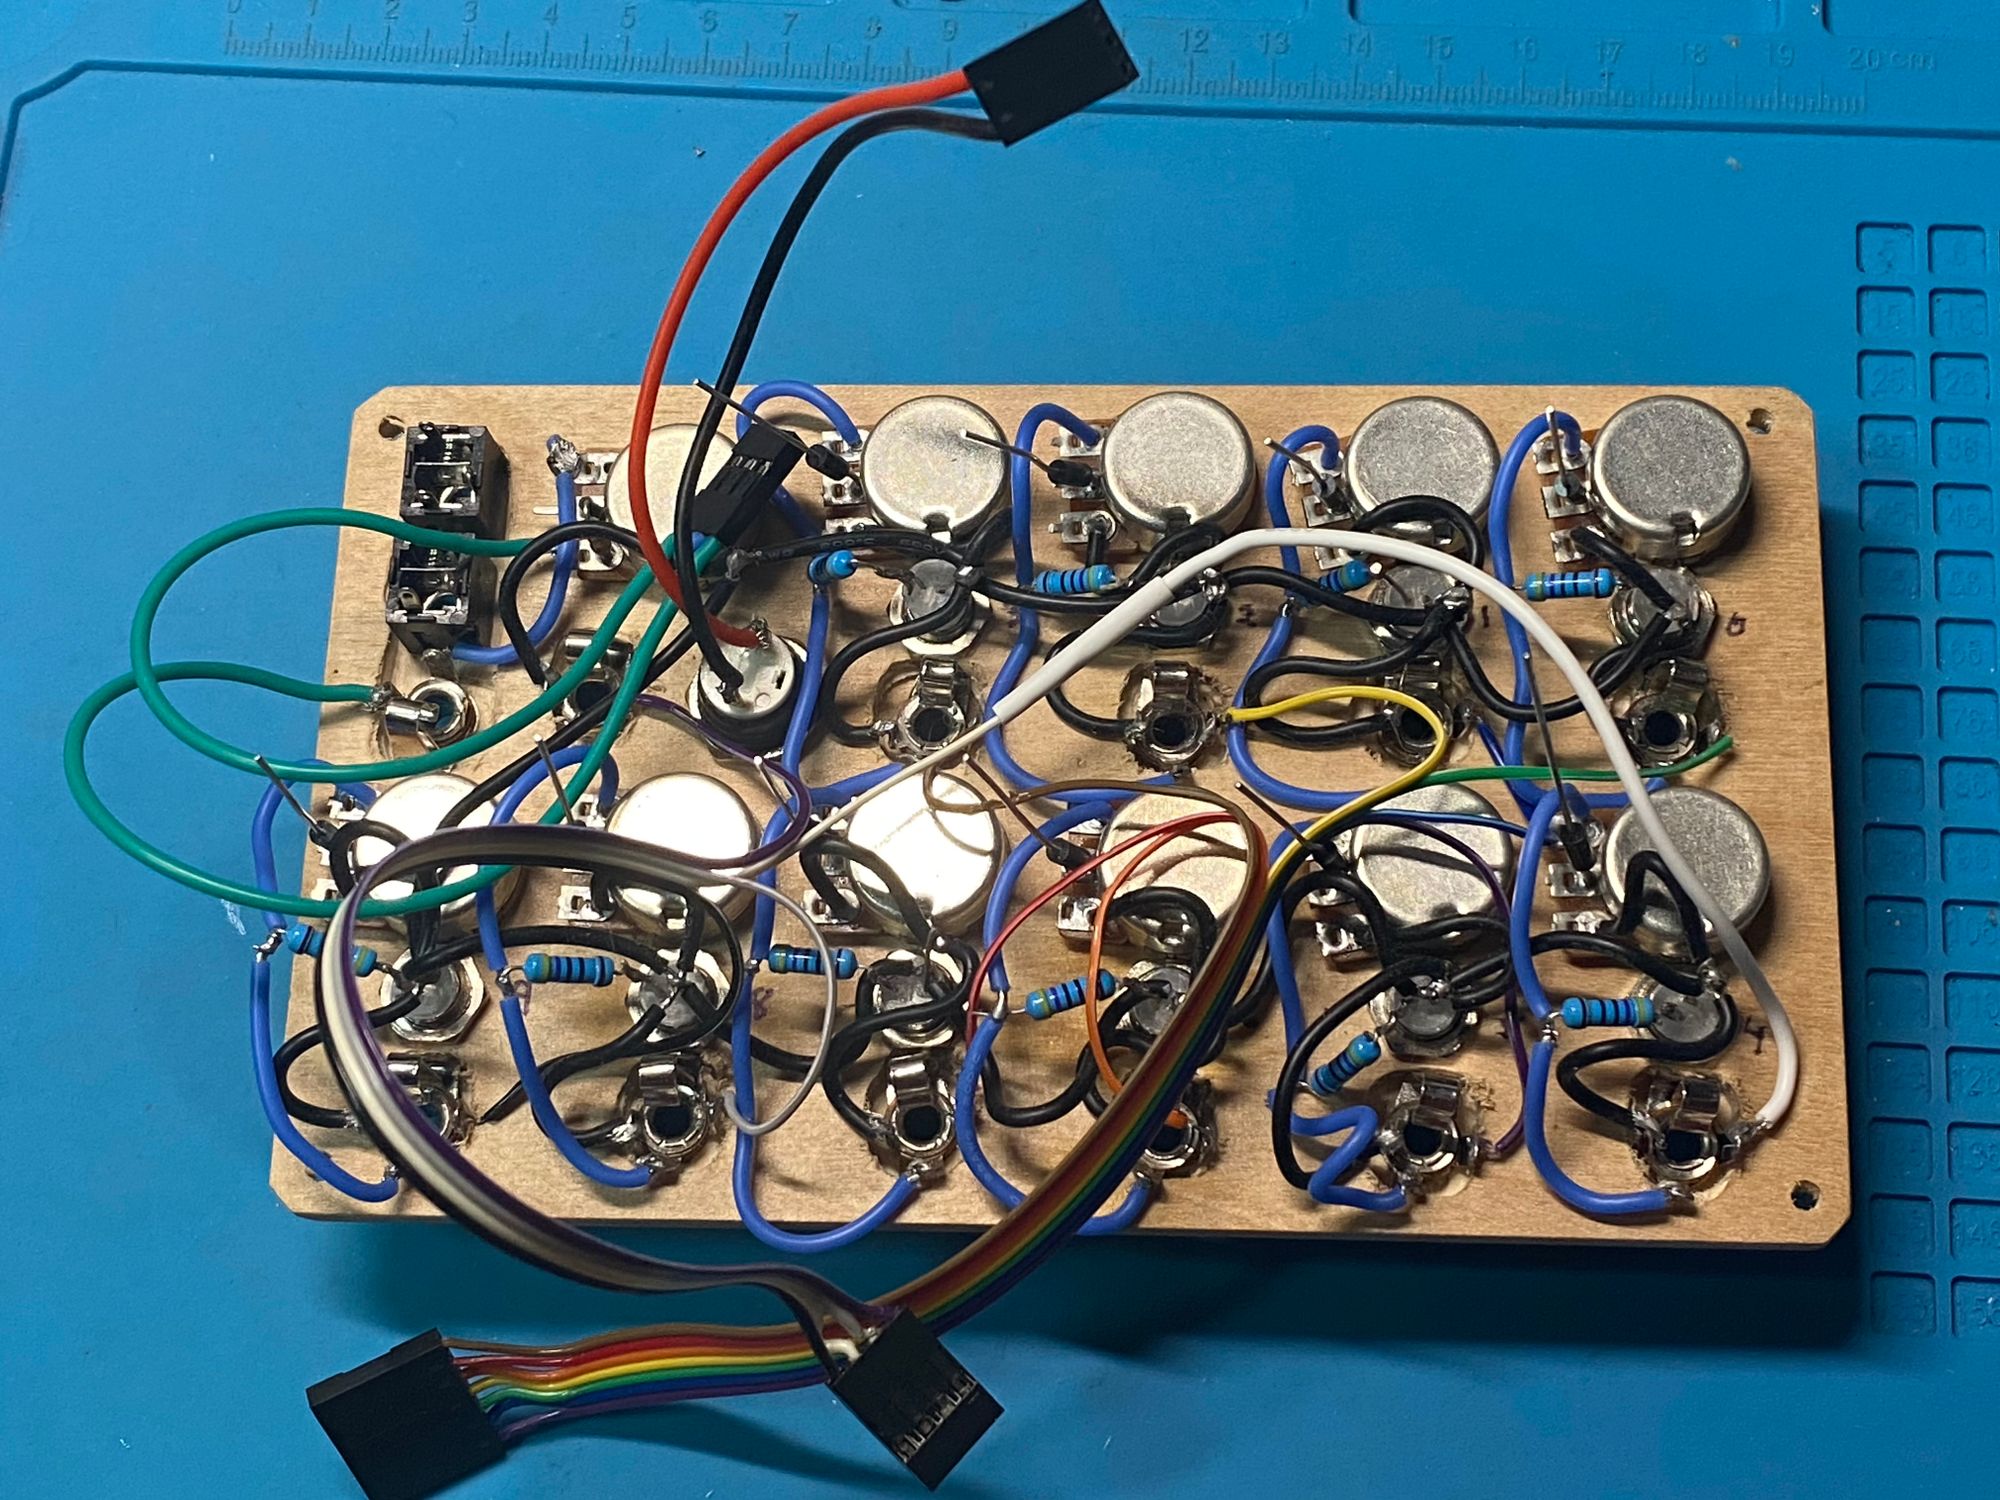
If you look closely, you can see the subassemblies I described in my previous post. The black wires snaking through each step are the ground bus. The diodes sticking out from each pot will carry the CV signal for each step. They haven't been connected up to the output jack yet. I also haven't connected up the 10V power board. But that doesn't mean we can't have fun with the sequencer in it's current state! Here's a video that shows the Baby-10 in action:
There are a couple of points in the video where the sequencer gets stuck on a step. Pushing the manual step button restarts things. I'll add that to the list of things to do, which also includes:
- Create a ribbon cable for the reset and ground lines and solder them to the reset jack.
- Solder all the diodes together into a CV signal bus and connect it to the CV out jack.
- Drill mounting holes in the power and main boards and mount them into the case.
- Mount the 12V wall wart power plug, connect it to the power board, and connect that to the main board.
Once all this is done, I plan on doing a lot of testing with my multimeter to make sure the output of this device isn't going to fry my expensive Moogs. Maybe I'll just use it with the Werkstatt-01 for now.